Setting up Google Workspace with a custom domain
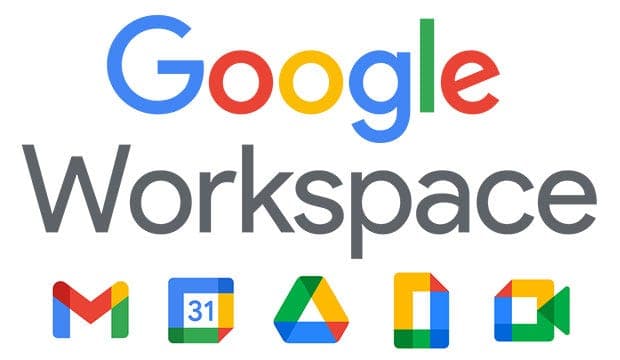
What exactly is a Google workspace?
In short, Google workspace is a popular business suite consisting of world class productivity & collaboration apps and tools which includes a professional business email service that lets you use your own domain name, your own email addresses in the Google ecosystem.
To get started, you need to have an existing domain or you would have to purchase one from a domain registrar, however, in this guide we’ll assume you already have one.
Once you have our domain, head to https://workspace.google.com .
Next, follow the on-screen prompts as seen below:

Create your Business name, add the Number of employees & select your Region:

In the next step, you’ll need to provide your contact info and then click Next:

Since you have an existing domain, select Yes:

You will then go ahead and add your existing domain and click Next:

As you can see, emails sent to our domain won’t be affected until you’ve set up your email with your new account:

Create a username to sign into your Google Workspace account:

After agreeing to the Ts & Cs, you’ll be asked to sign into your Google workspace account.
Next, you’ll need to verify your Identity:

After you’ve verified your number, agree to the Ts & Cs and select the 14 day free trial which requires your credit card information.
Important note: If this is for testing purposes, I would strongly suggest setting a reminder to delete your account before the trial period expires.
Now it’s time for the “fun” part 🙂

Before proceeding to step two, follow the on-screen prompt that’s instructing you to log into your Domain registrar’s website where you’ve purchased your domain from.

Next, you’ve guessed it, you need to add Google’s MX records as per the instructions seen below under your domain:

Here’s an example of what it should look like:

As per the instructions, you need to add another MX record with the priority set to 15 and the unique Verification code.
Once you’ve added these two entries, go back to the admin console and click Activate Gmail. If all is correct, you should see the following window and then click Finish:

Next steps
Now that you’ve completed setting up your Google Workspace account with your own domain, you can go ahead and create users, groups etc. and explore all the features this suite has to offer.